|
Panel Designer |
|
A panel (also known as a dialogue, window or form) is a display window that is under the control of your application when running in a graphical operating system (i.e. MS Windows). It delivers the layout for the panel controls required by the user to interact with your application.
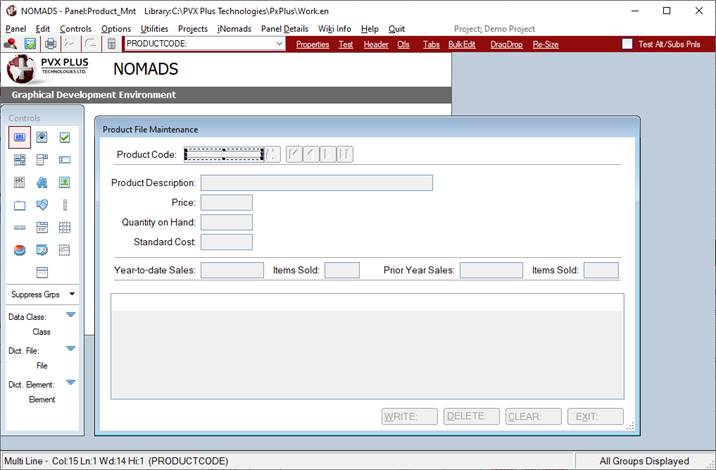
The NOMADS Panel Designer is the primary work area for drawing, defining and maintaining the GUI components of a panel.
The NOMADS Panel Designer can be accessed from the Library Object Selection window, which is displayed after creating a new library or opening an existing library.
You can also select the Panel Definition task on the IDE Main Launcher.
(The Panel Definition task on the IDE was added in PxPlus 2023 Update 1.)
From the Designer menu, select one of the three available versions of the Panel Designer to use when creating and modifying panels: NOMADS+ Toolbar, Folder Style and Property Sheets.
To create a new panel or edit an existing panel, use one of the methods listed below. These methods vary slightly depending on the view type selected on the Views menu: Button View, Toolbar View or Menubar View. An existing panel can also be selected from the Object List.
|
View Type |
Method |
|
Button View |
In the Name field (below the Object List), enter the name for the new/existing panel. Then, either click the Panel Object button or select Objects > Panel from the menu. See Note below. |
|
Toolbar View |
Click the Panel button on the toolbar, and then enter the name for the new/existing panel. You can also select the Objects > Panel Object from the menu. See Note below. |
|
Menubar View |
Select Objects > Panel Object from the menu, and then enter the name for the new/existing panel. See Note below. |
Note: | |
Work Area
Creating a new panel object launches a blank dialogue in the Panel Designer. This dialogue provides the standard work area for creating panel controls and designing the layout of your new panel object.
Panel Designer tools and functions can be accessed by using a variety of different methods: Edit Keys, Menu Options, Tool Bar Options and Controls Toolbar.
The Panel Designer opens in edit mode. This mode allows you to create/modify panel controls and set their design properties. You may switch your panel into test mode by clicking Test on the tool bar or by selecting Panel > Test from the menu bar. This processes the panel and allows panel controls to function in an interactive state (as they would appear to the user).
To exit test mode and return to edit mode, press the Esc or the F4 key, or click the close button on the test panel (if it exists).
Design Properties
NOMADS employs a set of design properties to control the appearance and functionality of all panel components. These settings are usually modified using the NOMADS Panel Designer. However, some properties related to size and layout are changed automatically whenever objects are moved, copied or resized using other tools in the Panel Designer. See Modifying Objects.
Some properties are common to all panel components, while others are specific to the functionality of a particular control type. For example, font and color settings may be based on System Defaults that are inherited by every panel object (although most can be overridden by individual control properties).
The properties used to establish the layout of the panel itself are maintained in the Panel Header.