|
Page Setup |
|
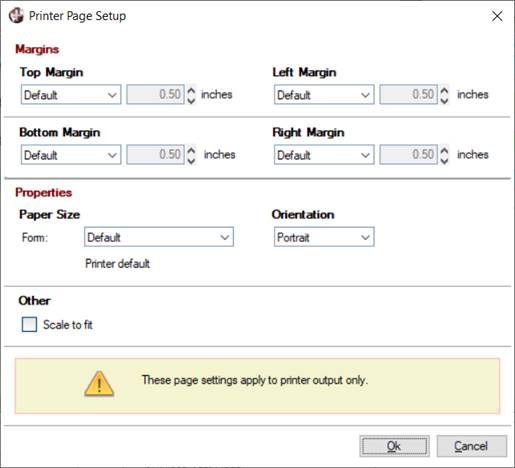
The Page Setup option on the Report Designer File menu is used to set up margins and paper size, define orientation for reports output to printer type destinations (i.e. Printer, PDF, Viewer) and set the Scale to fit check box option if it is needed.
Default paper size uses the current default paper size of the printer.
Default margins are one-half inch for the top and bottom, as well as for the left and right, with the report data centered horizontally. Custom margins can be set for the top, bottom, left and right.
Orientation options are Portrait and Landscape.
The Scale to fit option causes the column width, line height and font size to be adjusted either up or down so that the report will fit the page size. If margins are defined, they will be maintained. If margins are not defined, a one-half inch margin will be used as default. When selecting this option, be sure to select fonts that scale well.