1.
Run the .exe file to start the installation wizard.
2.
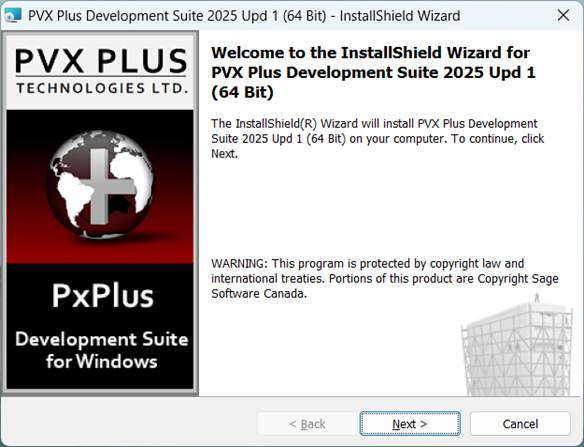
After a few moments, the Welcome panel displays. Click Next to continue.
3.
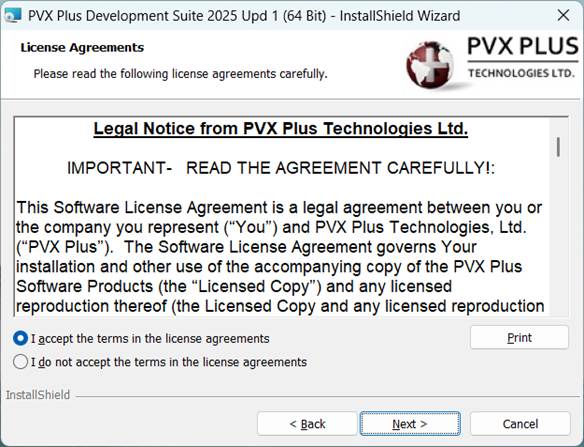
This panel presents the license agreement. Read the agreement carefully. To continue, select the "I accept " option and click Next.
4.
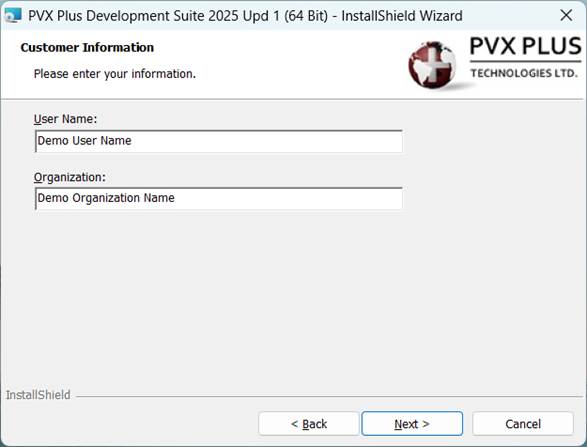
On the Customer Information panel, enter the User Name and Organization. Click Next to continue.
5.
On the Destination Folder panel, specify the destination folder for your PxPlus installation.
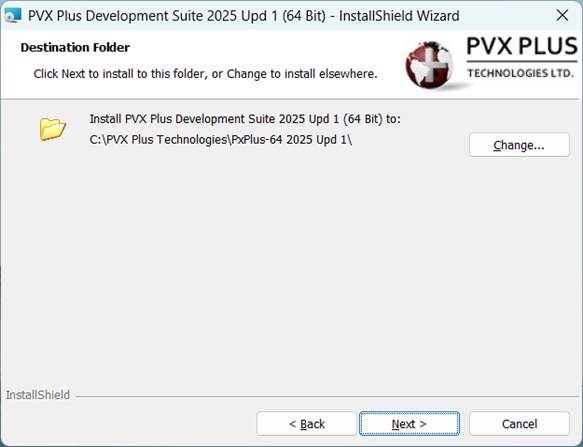
A default destination folder is provided. You can accept this folder or specify a different location.
To continue with the default destination folder, click Next.
To specify a different location, click Change. The Change Current Destination Folder panel opens.
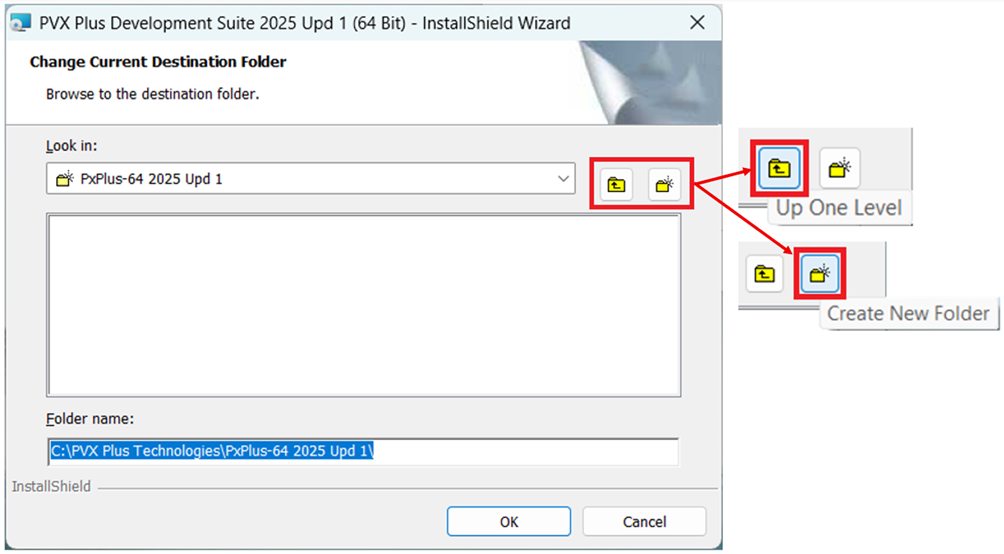
In the Folder name field, enter the pathname of the folder you want to use.
To make this easier and faster, you can use the two buttons that are available. Click Up One Level to move up one directory or click Create New Folder to add a new folder in the current directory.
When you are done, click OK. If you do not want to change the destination folder, click Cancel.
6.
You are returned to the previous Destination Folder panel. Verify that the destination folder displayed is correct. If it is correct, click Next.
If it is not correct, click Change again and specify the desired folder.
7.
Before starting the installation, select which of the two user options will have access to the PxPlus installation.
The installation begins once a user option is selected.
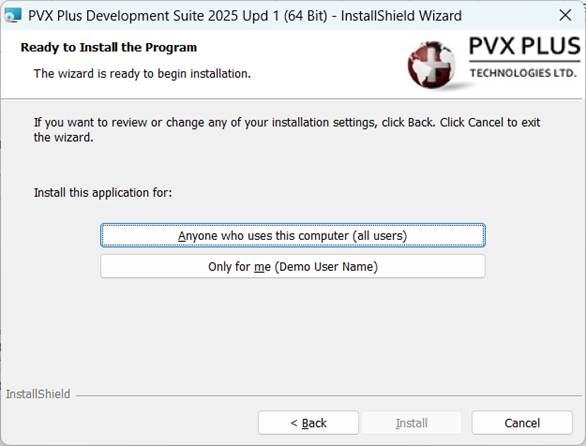
Before choosing a user option, you can review or change your previous settings by clicking Back.
To exit the installation wizard without continuing, click Cancel.
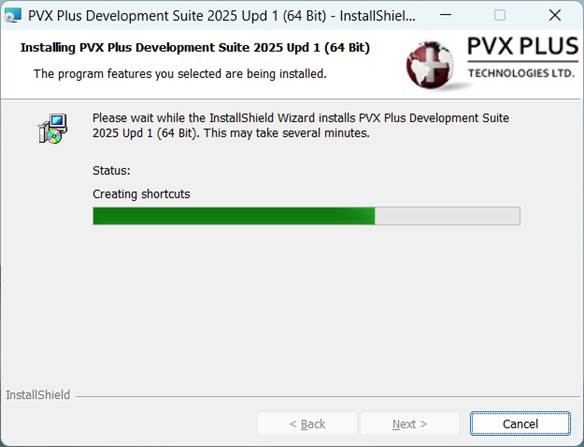
8.
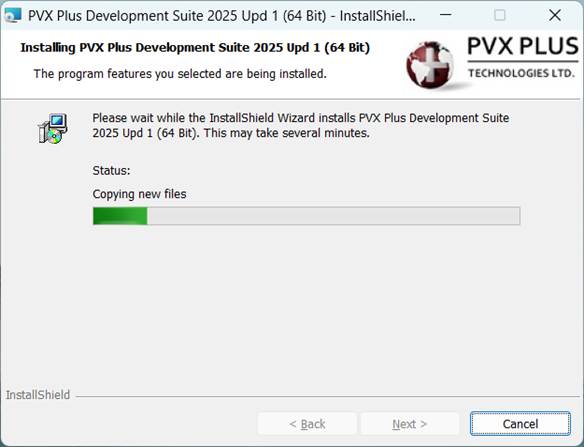
Once the installation begins, the progress bar indicates the status (i.e. copying new files, creating shortcuts, etc.).
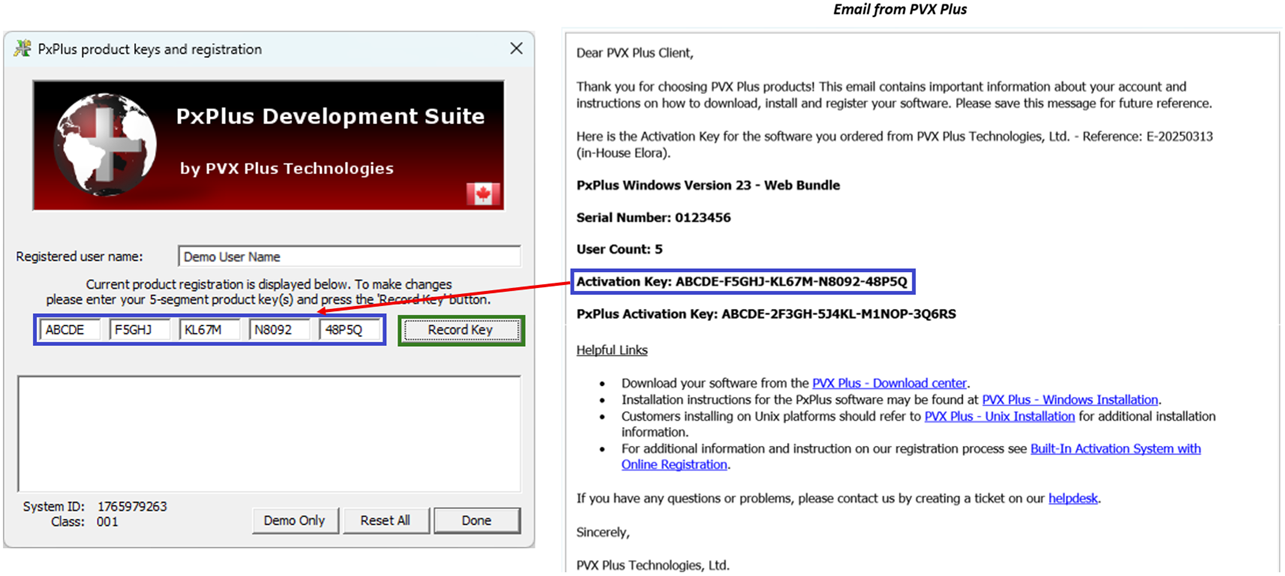
9.
At the end of the installation, the PxPlus product keys and registration panel is displayed. This panel shows the Registered user name and prompts you to enter your 5-segment product key(s).
Enter the Activation Key from the email (if you did not previously copy it).
Click the Record Key button. Registration information appears in the white box below the key entry field.
If you cannot perform online activation, or if you need to run PxPlus with a temporary activation for a period of time, and you received two Activation Keys, enter the PxPlus Activation Key and click Record Key again.
When finished, click Done.
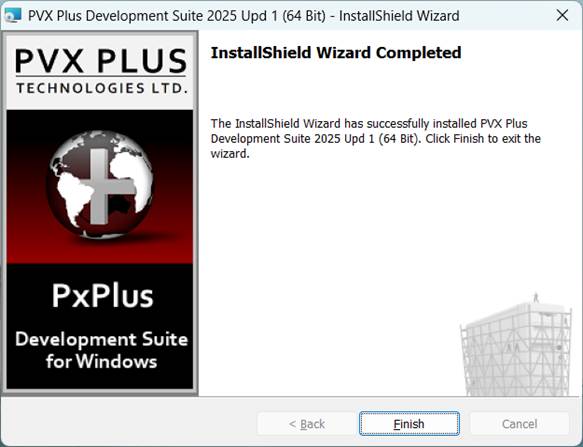
10.
The installation wizard is finished. Click Finish to exit the wizard.
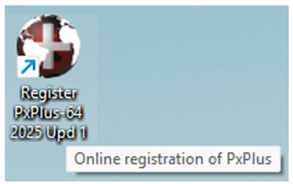
11.
On your desktop, two new shortcuts have been added for the PxPlus version installed:
|
|
This shortcut runs the PxPlus Online Registration. Double clicking it displays a message asking whether you would like to run the online registration. An internet connection is required. |
|
|
This shortcut launches the PxPlus IDE (Integrated Development Environment). |
12.
Your new PxPlus installation includes temporary activation, which gives you 30 days to register your product with PVX Plus and enable permanent activation.
When PxPlus is run for the first time after installation, the system checks whether the software is registered and prompts you to register if it is not. If Yes is selected, the system will connect to the internet to complete the registration. A quick and easy alternative is to double click the Register desktop shortcut.