How To Tutorials
|
How to Create a Custom Title Bar | |
The
Custom Title Bar feature allows you to design a title bar that reinforces your branding and improves your application's accessibility. The Custom Title Bar can be used to replace or work in conjunction with the Windows title bar.
How to Create a Custom Title Bar
These steps show you how to create a custom title bar:
|
1. |
The easiest way to start is to make a copy of the PxPlus title bar Titlebarhdr, which is found in *win/scrnlib.en. |
|
2. |
In NOMADS, call up the copied object and then make the appropriate changes by adding your logo, color scheme, etc. This is just a standards NOMADS dialog, so you can virtually add any type of control to satisfy your needs. Note:
All controls on the title bar must be unique so that they do not conflict with your other screens. |
|
3. |
If your title bar is going to replace the Window title bar, make sure you keep the Minimize, Maximize and Close buttons in place; if not, they can be removed. Do not change the control names of the Minimize, Maximize and Close buttons. |
|
4. |
The standard PxPlus title bar replaces the Windows title bar. If you want to use the Windows title bar, open the
Panel Definition window and select the Attributes tab. Change the Frame Style drop box to either Default or Thick border with caption. |
|
5. |
Once you are done, you can now apply it to the rest of your application. |
Applying the Custom Title Bar
Custom title bars can be assigned at several hierarchical levels, depending on how you want to customize the look of your application. You can apply a custom title bar to the following:
|
All screens
This can be done by using the NOMADS property
%NOMADS'TitleBar$ and adding it to your Start_Up (e.g. %NOMADS'Titlebar$="Mypanel,MyLibrary"). |
|
Specific screen libraries
This can be done by opening the
Library Defaults window and selecting the TitleBar tab to set the TitleBar Option.
 |
|
Specific screens
This can be done by opening the
Panel Definition window and selecting the TitleBar tab to set the TitleBar Option.
 |
|
Multiple selected screen libraries and/or selected screens
This can be done by using the
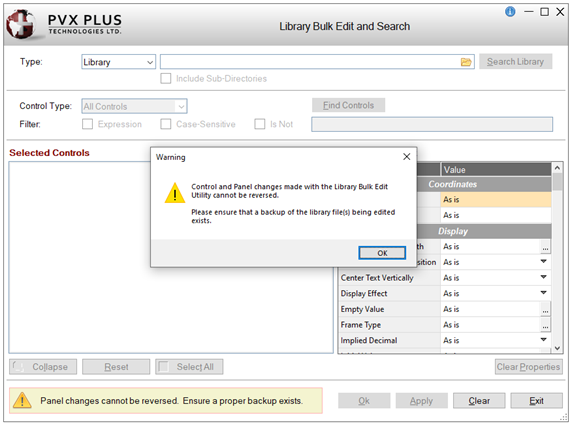
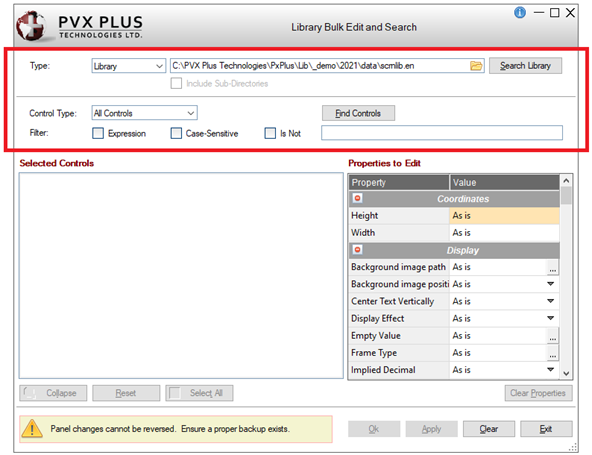
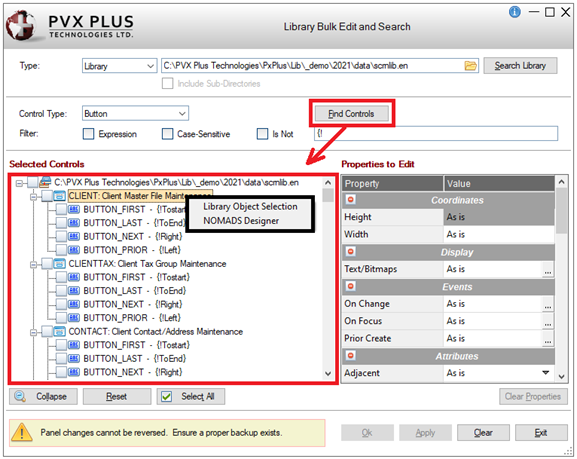
Library Bulk Edit and Search utility. Under Properties to Edit, locate the TitleBar property and click the three-dotted button. This opens the TitleBar
Definition window where you can set the TitleBar
Option.
 |
See Also
Creating a Custom Title Bar
Assigning Custom Title Bars
Custom Title Bar Display


