1.
Invoke the IDE Main Launcher.
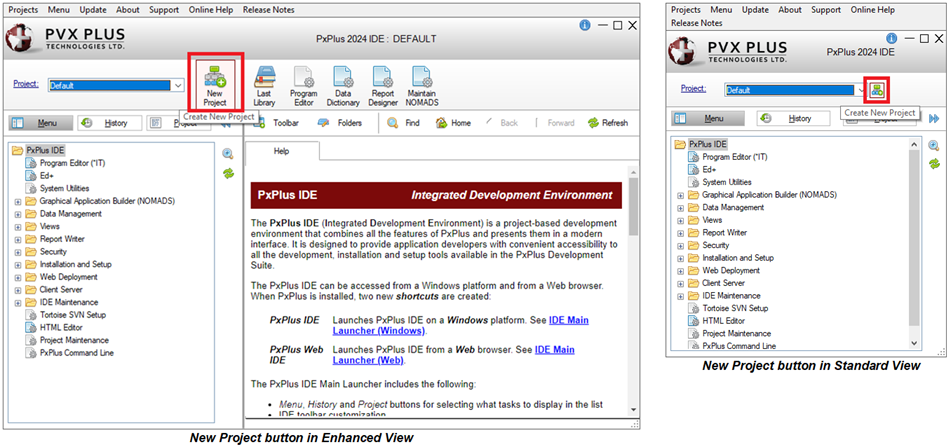
The IDE Main Launcher can switch between enhanced or standard view as desired by clicking the Switch to Enhanced/Standard button (double arrow) located beside the Project button.

2.
Launch the task for creating a new project. This can be done by using one of the following methods:
Method 1:
Click the New Project button beside the Project drop box.
OR
Method 2:
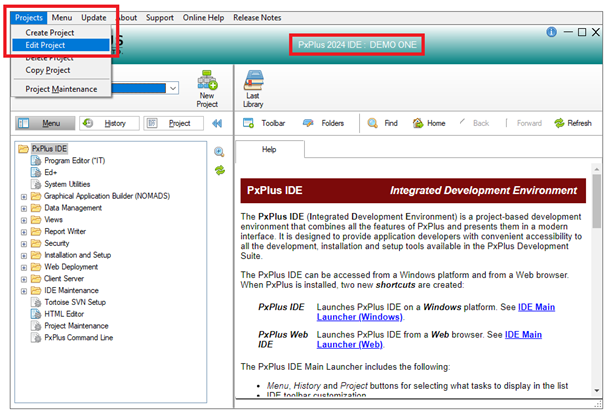
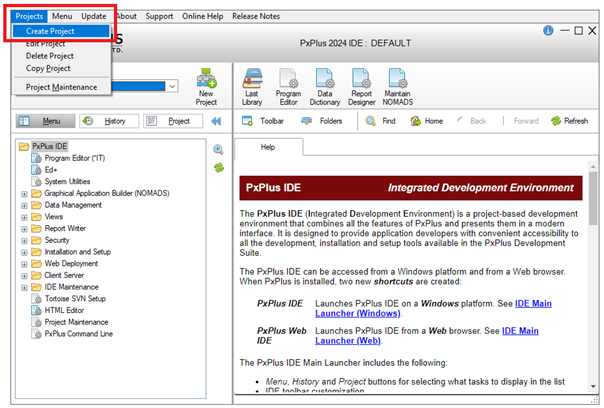
From the menu bar, select Projects > Create Project.
3.
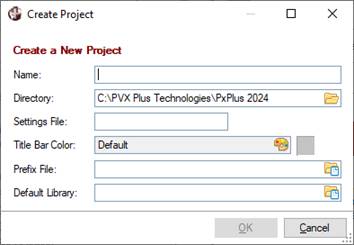
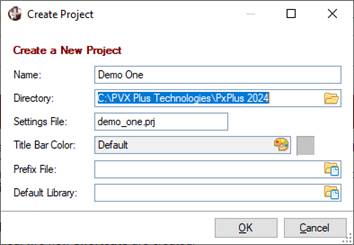
The Create Project dialog displays.
4.
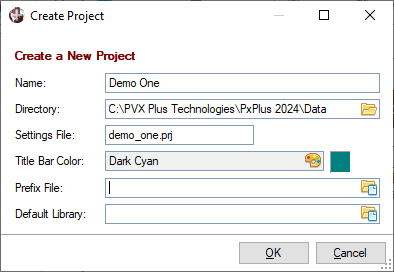
In the Name field, enter a unique name for the new project.
For this example, type Demo One and then press the Tab key.
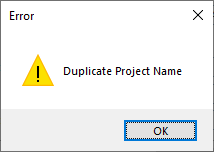
If you enter a project name that already exists, a message will display:
 .
.
If this happens, click OK. The Create Project window will redisplay. Enter a different project name.
5.
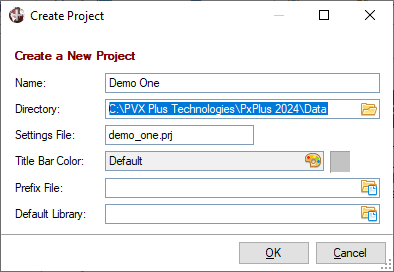
The Directory field defaults to the path for the current working directory. When creating any project, this defaults to the directory where PxPlus is installed, but typically this is changed. You can enter a different pathname or select it by clicking the Query (folder) button.
For this example, this will be changed to point to the directory where the data is stored (e.g. C:\PVX Plus Technologies\PxPlus 2024\Data).
6.
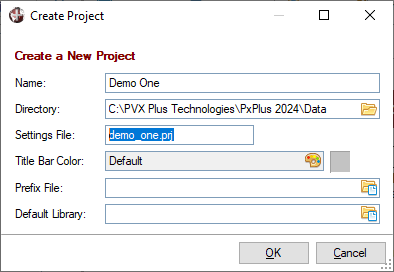
The Settings File field is automatically populated with the new project Name and the extension .prj, but this can be changed.
The settings file is used to save project settings and the data that defines the project contents. Each project has its own settings file. The same settings file can be shared with multiple projects. Project settings files are saved in a location outside of PxPlus to enable them to be usable from release to release.
For this example, leave this setting as is (e.g. demo_one.prj).
7.
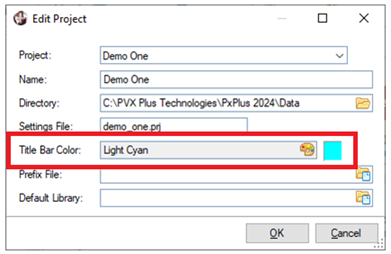
The Title Bar Color field shows the Default color, which is Gray, as shown in the sample color square.
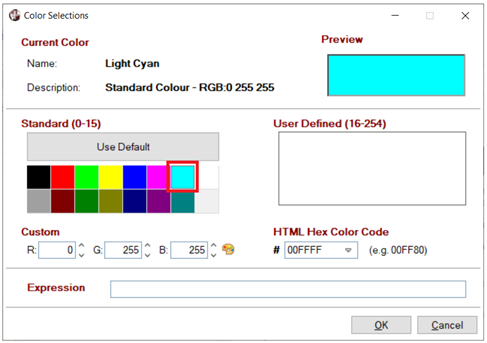
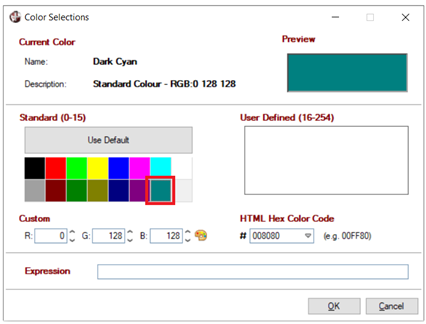
For this example, change this by clicking the Color Selections (paint palette) button. The Color Selections window displays. Select Dark Cyan and then click OK.
8.
The Title Bar Color field shows the selected color. Press the Tab key.
9.
The Prefix File field is optional. If desired, you can enter the name of a new or existing prefix file that will contain the prefix file entries defined for the project or click the Query button. If you enter a prefix file that does not exist, it will be created when you click OK.
For this example, leave this blank. Press the Tab key.
Note:
If
PREFIX FILE is set in START_UP and the corresponding prefix file already exists, it will take precedence over the project's prefix file.
10.
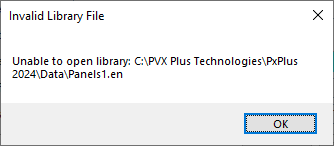
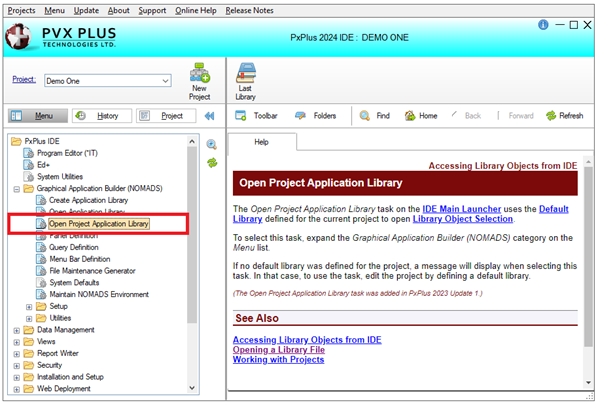
The Default Library field is optional. For this example, leave this blank, as it will be added later.
11.
Click OK to create the new project.
12.
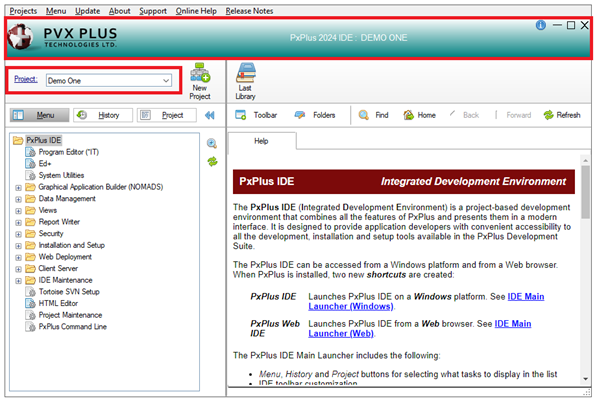
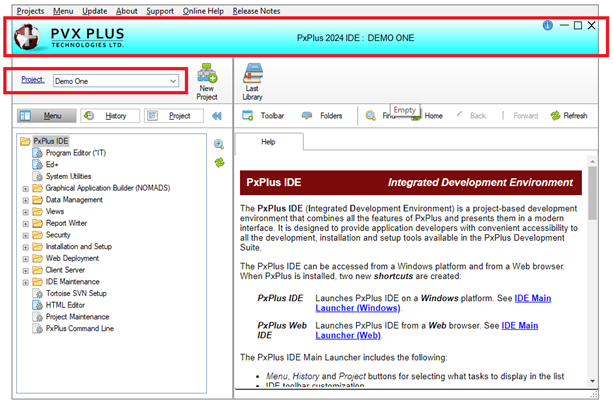
The IDE Main Launcher relaunches and shows the following changes:
• The IDE title bar is now Dark Cyan in color and shows the new project name (e.g. Demo One).
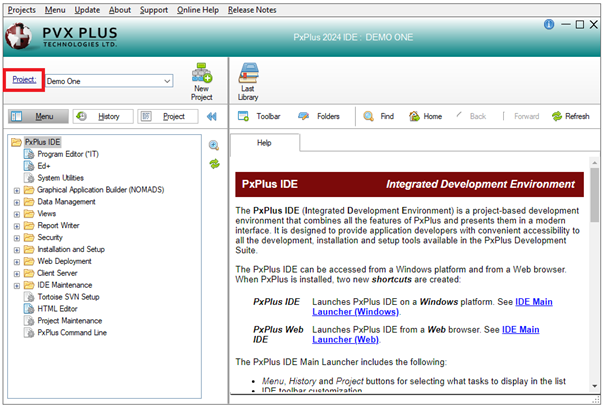
• The Project drop box shows Demo One is the current project.
