1.
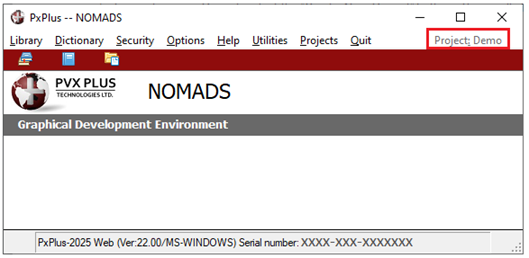
Invoke the IDE Main Launcher.
The IDE Main Launcher can switch between enhanced or standard view as desired by clicking the Switch to Enhanced/Standard button (double arrow) located beside the Project button.
2.
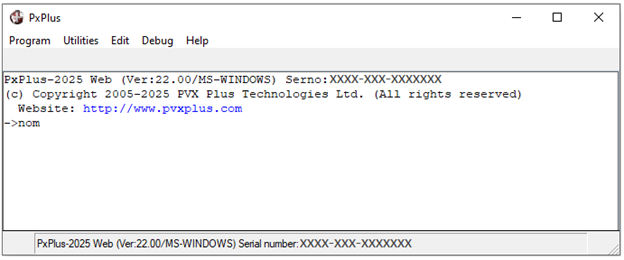
Click the Project drop down arrow. Select the project that you want to delete so that it is the current project.
For this example, the project, Demo Two, is selected.
3.
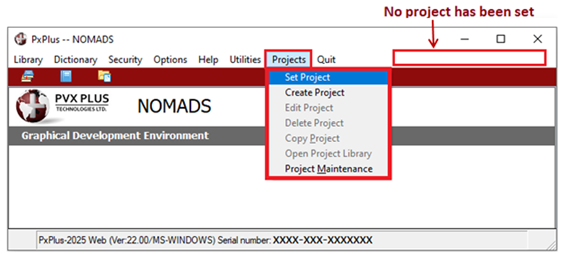
From the menu bar, select Projects > Delete Project.
4.
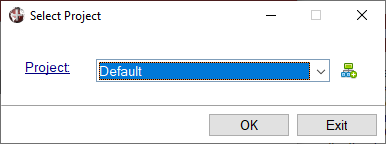
A message displays, asking you to confirm that you want to delete the selected project. Click Yes.
5.
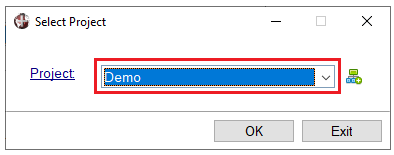
The IDE Main Launcher relaunches after the project is deleted. The Project field switches to the Default project, and when the drop down arrow is selected, the project is no longer listed.
